Exif
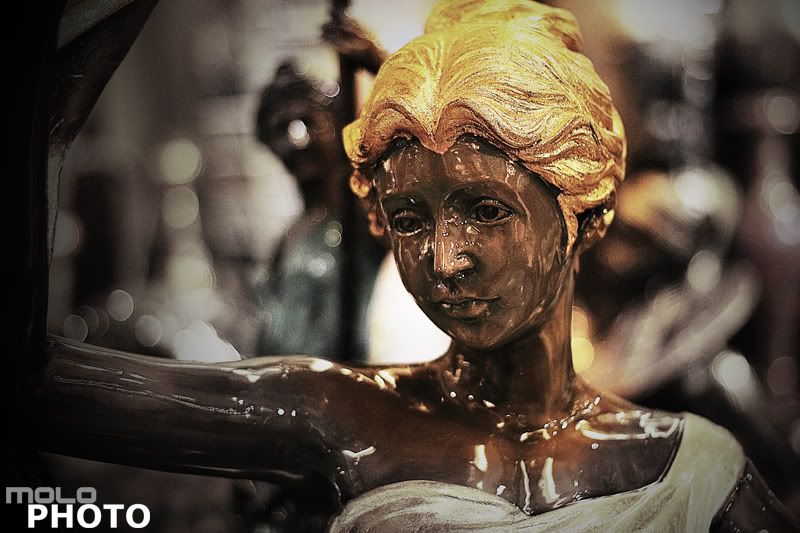
Camera Model: Canon 400D
Shutter Speed: 1/13 sec.
Lens Aperture: F/1.8
ISO: 400
Focal Length: 50mm
Exposure Program: Aperture Priority

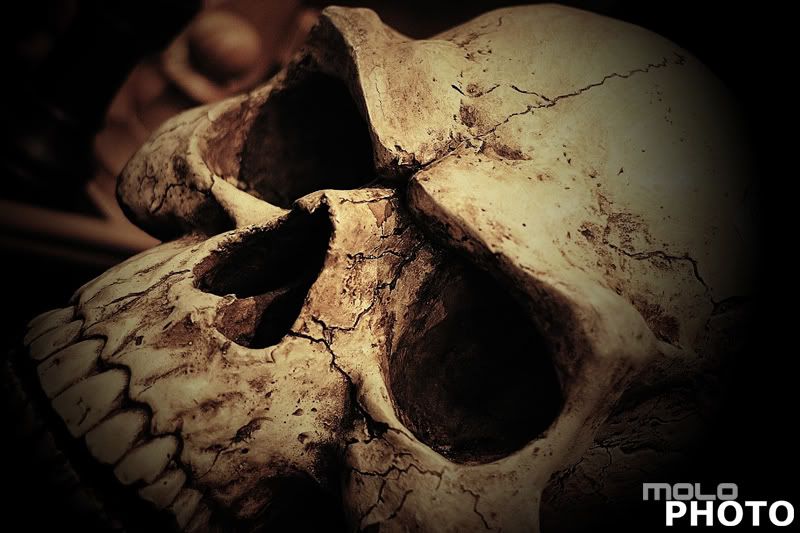
Exif
Camera Model: Canon 400D
Shutter Speed: 1/13 sec.
Lens Aperture: F/1.8
ISO: 400
Focal Length: 50mm
Exposure Program: Aperture Priority
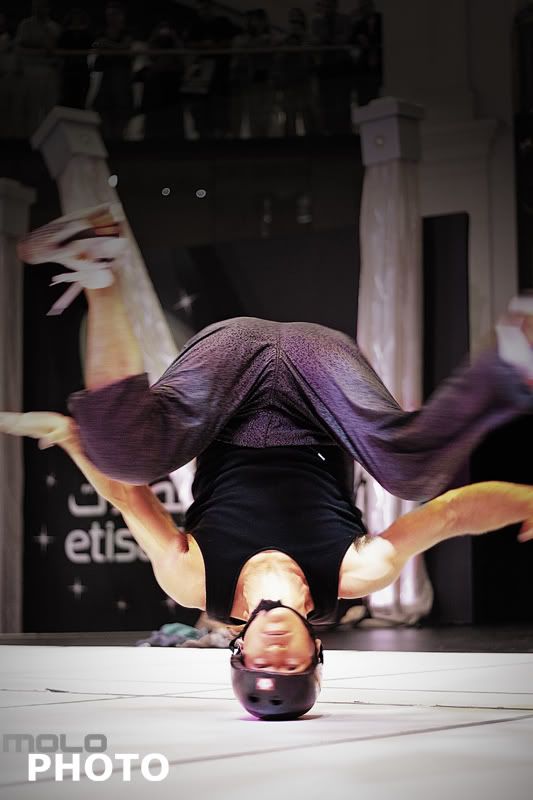
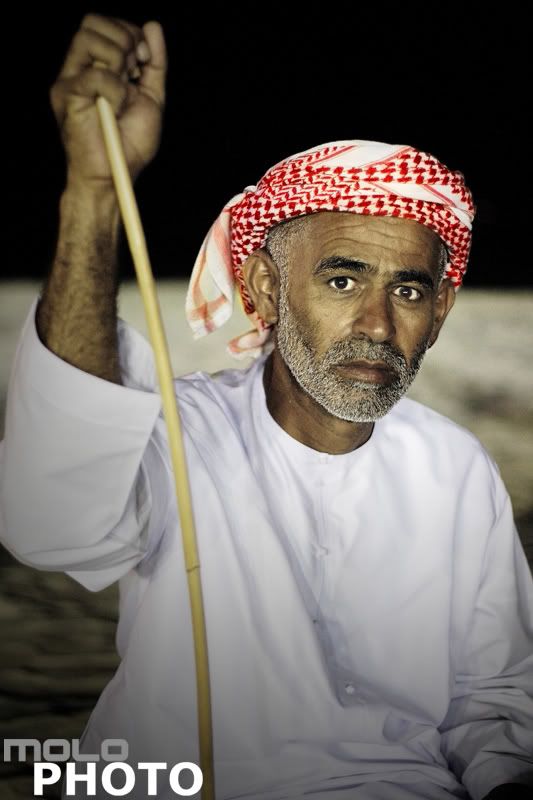
Exif
Camera Model: Canon 400D
Shutter Speed: 1/60 sec.
Lens Aperture: F/1.8
ISO: 400
Focal Length: 50mm
Exposure Program: Aperture Priority
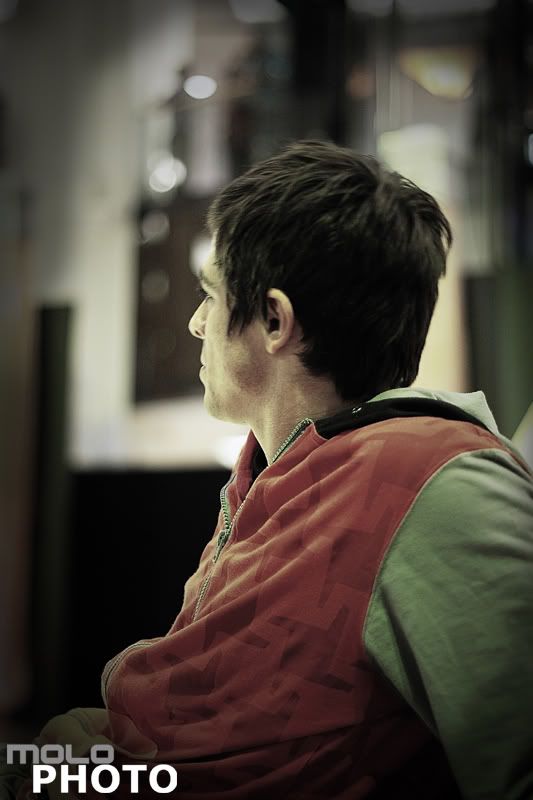
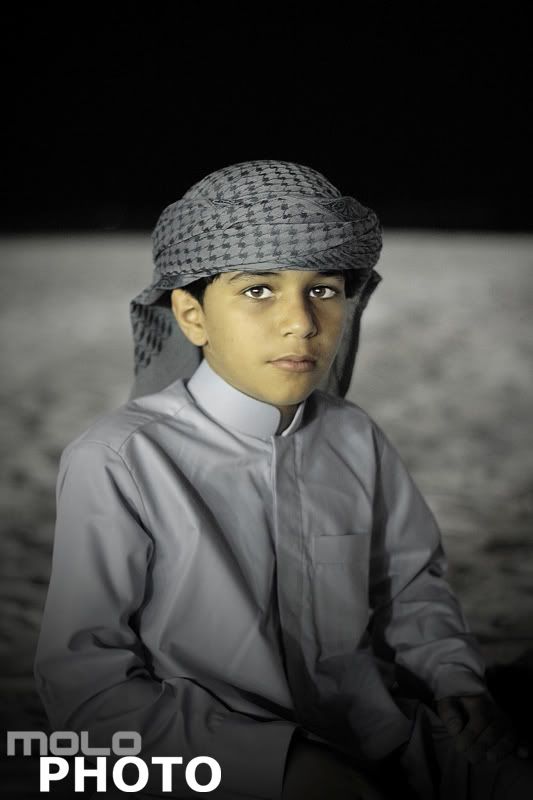
Exif
Camera Model: Canon 400D
Shutter Speed: 1/80 sec.
Lens Aperture: F/1.8
ISO: 400
Focal Length: 50mm
Exposure Program: Manual
Exif
Camera Model: Canon 400D
Shutter Speed: 1/80 sec.
Lens Aperture: F/1.8
ISO: 400
Focal Length: 50mm
Exposure Program: Manual
Exif
Camera Model: Canon 400D
Shutter Speed: 1/80 sec.
Lens Aperture: F/1.8
ISO: 400
Focal Length: 50mm
Exposure Program: Manual
Exif
Camera Model: Canon 400D
Shutter Speed: 1/80 sec.
Lens Aperture: F/1.8
ISO: 400
Focal Length: 50mm
Exposure Program: Manual

Exif
Camera Model: Canon 400D
Shutter Speed: 1/80 sec.
Lens Aperture: F/1.8
ISO: 400
Focal Length: 50mm
Exposure Program: Manual

Exif
Camera Model: Canon 400D
Lens Aperture: F/1.8
ISO: 400
Focal Length: 50mm
Exposure Program: Manual
Exif
Camera Model: Canon 400D
Shutter Speed: 1/80 sec.
Lens Aperture: F/1.8
ISO: 400
Focal Length: 50mm
Exposure Program: Manual
Exif
Camera Model: Canon 400D
Shutter Speed: 1/40 sec.
Lens Aperture: F/1.8
ISO: 400
Focal Length: 50mm
Exposure Program: Manual

Exif
Camera Model: Canon 400D
Shutter Speed: 1/30 sec.
Lens Aperture: F/1.8
ISO: 100
Focal Length: 50mm
Exposure Program: Aperture Priority
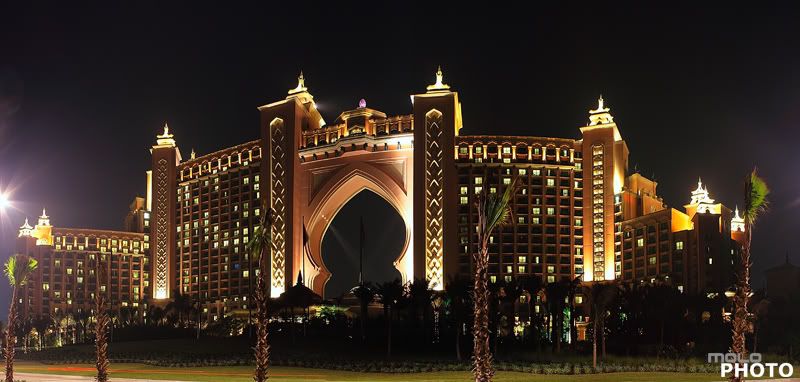
Exif
Camera Model: Canon 400D
Lens Aperture: F/8
ISO: 100
Focal Length: 27mm
Exposure Program: Aperture Priority
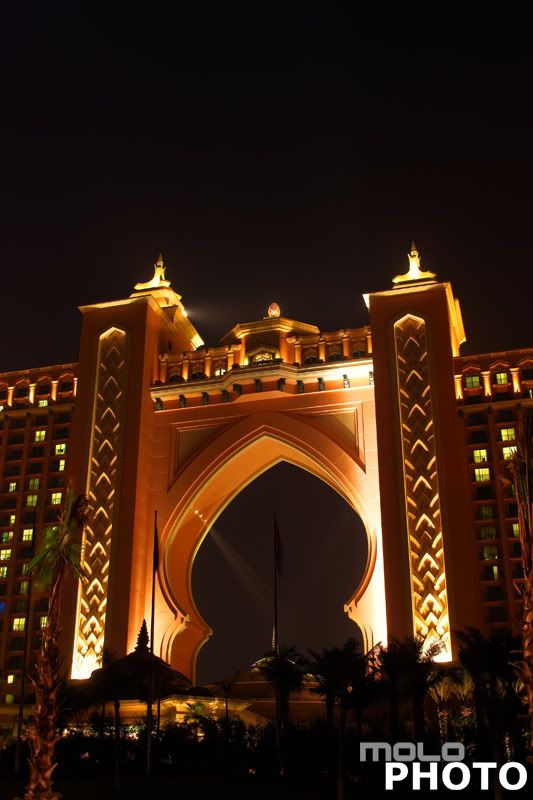
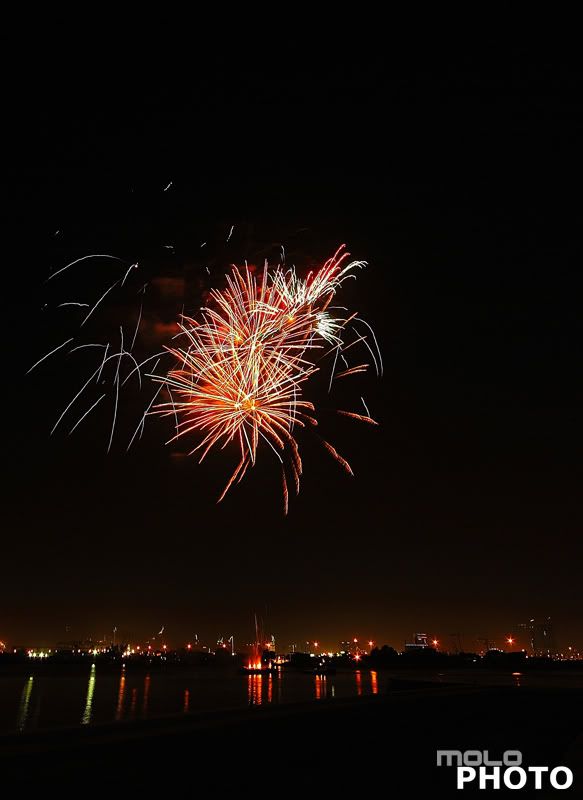
Exif
Camera Model: Canon 400D
Shutter Speed: 10 sec.
Lens Aperture: F/8
ISO: 100
Focal Length: 18mm
Exposure Program: Manual
Exif
Camera Model: Canon 400D
Shutter Speed: 1/60 sec.
Lens Aperture: F/1.8
ISO: 800
Focal Length: 50mm
Exposure Program: Aperture Priority
Exif
Camera Model: Canon 400D
Shutter Speed: 1/40 sec.
Lens Aperture: F/1.8
ISO: 800
Focal Length: 50mm
Exposure Program: Aperture Priority
Exif
Camera Model: Canon 400D
Shutter Speed: 1/30 sec.
Lens Aperture: F/1.8
ISO: 800
Focal Length: 50mm
Exposure Program: Aperture Priority
Exif
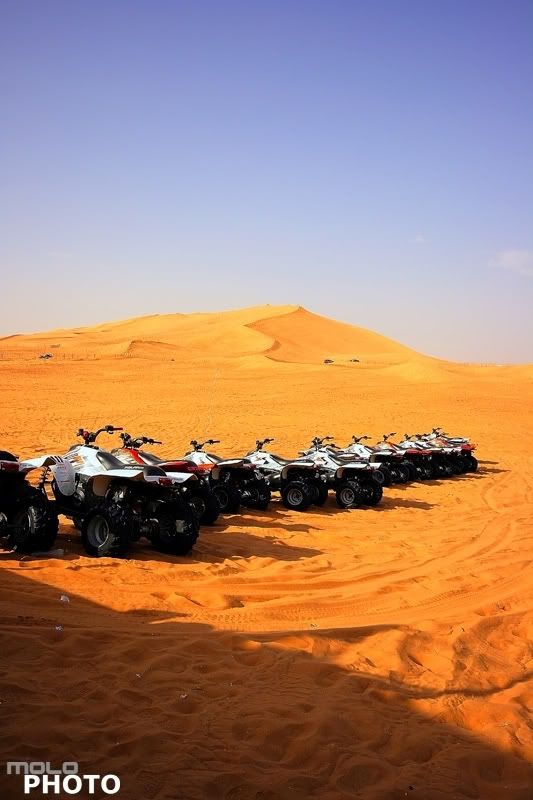
Camera Model: Canon 400D
Shutter Speed: 1/125 sec.
Lens Aperture: F/4
ISO: 400
Focal Length: 70mm
Exposure Program: Aperture Priority
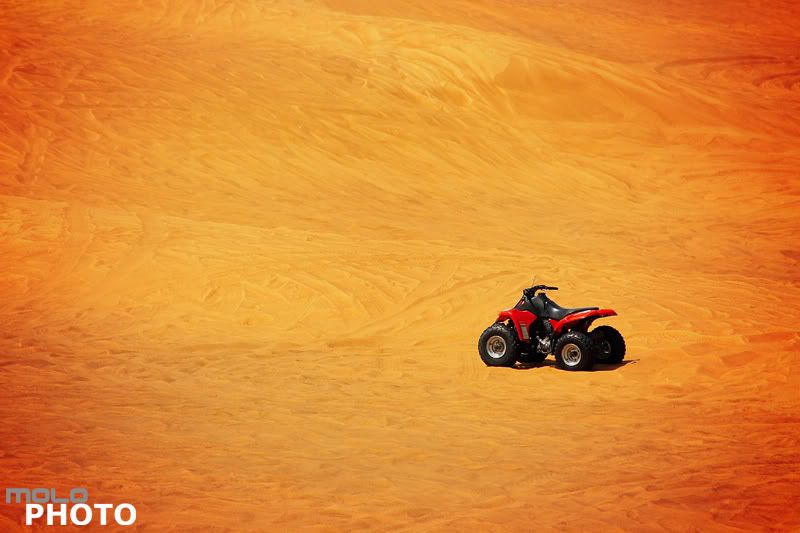
Exif
Camera Model: Canon 400D
Shutter Speed: 1/800 sec.
Lens Aperture: F/5.6
ISO: 400
Focal Length: 200mm
Exposure Program: Manual
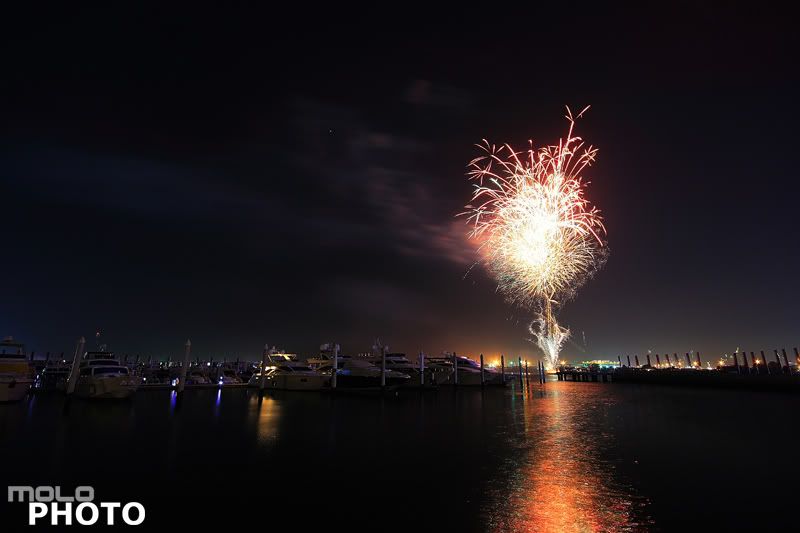
Exif
Camera Model: Canon 400D
Shutter Speed: 10 sec.
Lens Aperture: F/8
ISO: 100
Focal Length: 10mm
Exposure Program: Manual
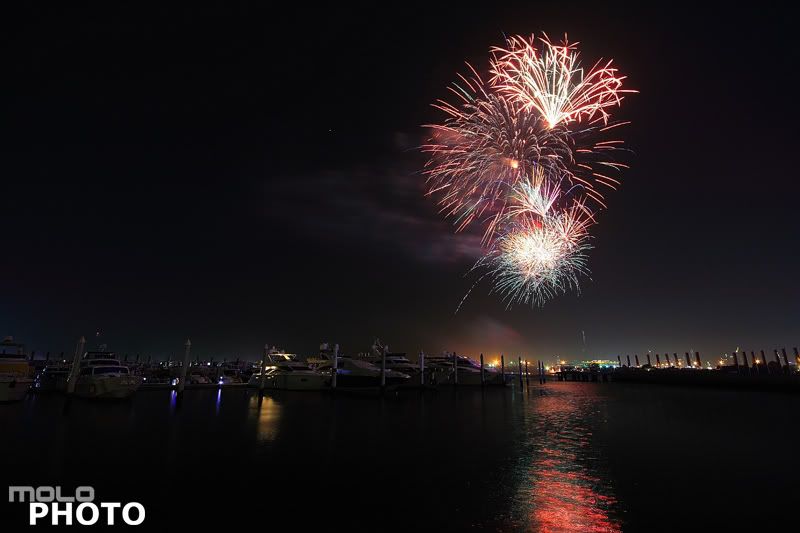
Exif
Camera Model: Canon 400D
Shutter Speed: 10 sec.
Lens Aperture: F/8
ISO: 100
Focal Length: 10mm
Exposure Program: Manual
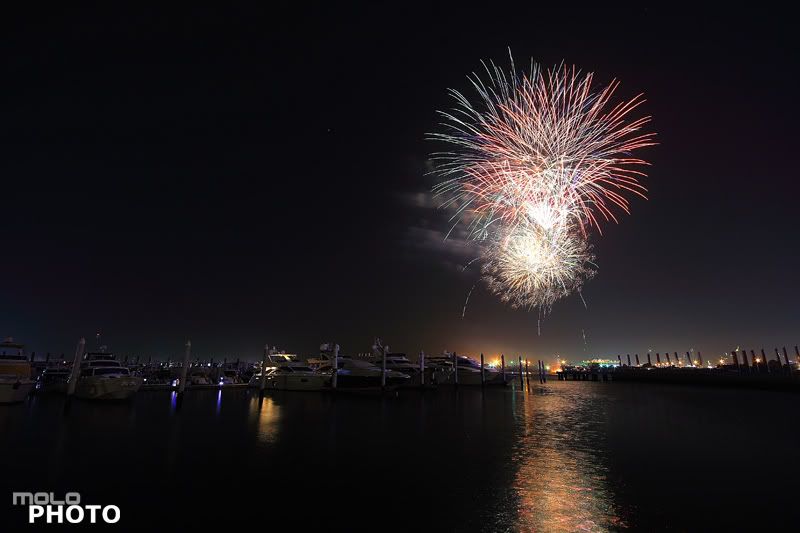
Exif
Camera Model: Canon 400D
Shutter Speed: 10 sec.
Lens Aperture: F/8
ISO: 100
Focal Length: 10mm
Exposure Program: Manual
Exif
Camera Model: Canon 400D
Shutter Speed: 10 sec.
Lens Aperture: F/8
ISO: 100
Focal Length: 10mm
Exposure Program: Manual
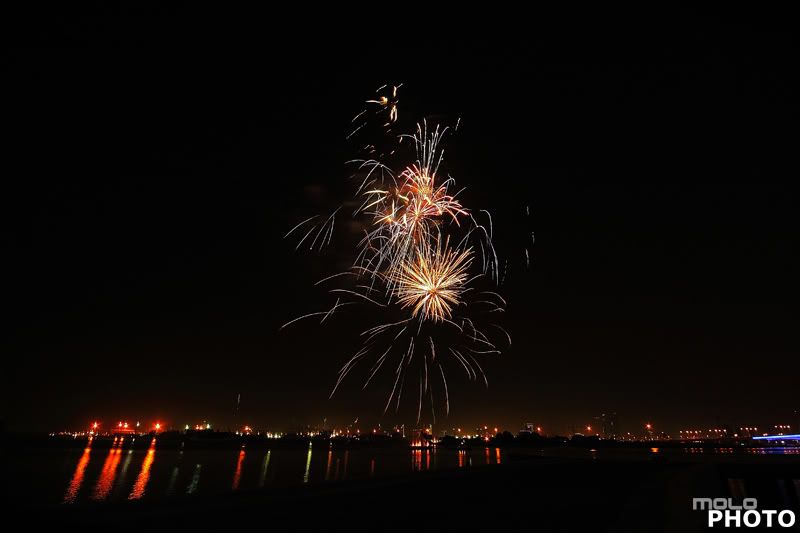
Exif
Camera Model: Canon 400D
Shutter Speed: 3.2 sec.
Lens Aperture: F/8
ISO: 100
Focal Length: 10mm
Exposure Program: Manual
Exif
Camera Model: Canon 400D
Shutter Speed: 3.2 sec.
Lens Aperture: F/8
ISO: 100
Focal Length: 10mm
Exposure Program: Manual
Camera Model: Canon 400D
 Exif
Exif

 Exif
Exif Exif
Exif
Exif
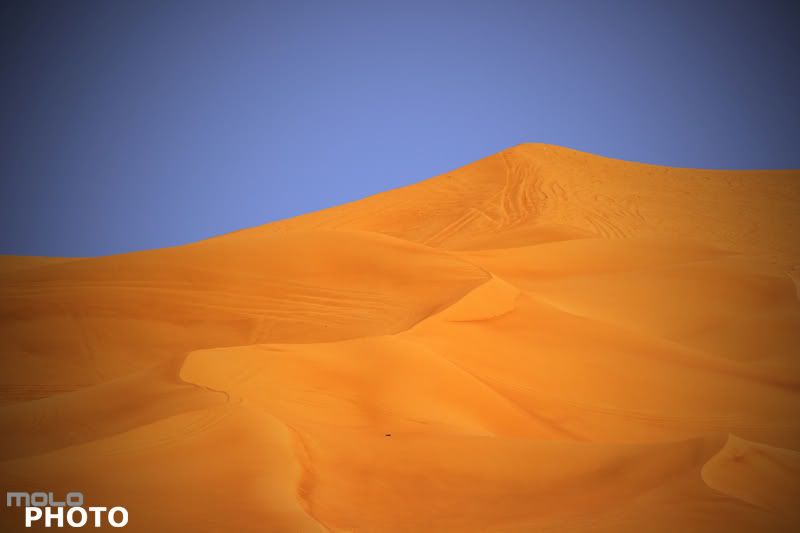
Camera Model: Canon 400D
Shutter Speed: 1/400 sec.
Lens Aperture: F/8
ISO: 100
Focal Length: 20mm
Exposure Program: Aperture Priority
Exif
Camera Model: Canon 400D
Shutter Speed: 1/320 sec.
Lens Aperture: F/8
ISO: 100
Focal Length: 20mm
Exposure Program: Aperture Priority

Exif
Camera Model: Canon 400D
Shutter Speed: 1/13 sec.
Lens Aperture: F/3.5
ISO: 400
Focal Length: 18mm
Exposure Program: Manual
Exif
Camera Model: Canon 400D
Shutter Speed: 1/13 sec.
Lens Aperture: F/3.5
ISO: 400
Focal Length: 18mm
Exposure Program: Manual


